Showing posts with label Bilateral Hand Use. Show all posts

Saturday, March 17, 2012

3-D Collage

Well it's been nearly a month since I've posted something new.....for any of you who work in schools, you know that life gets crazy by this time of year with new referrals, re-evaluations, and IEP's.  Some how, it all gets finished, right?!

In the mean time, I wanted to share another fun fine motor task that preschool teacher Miss Angela set up for her little darlin's.  She calls it "3-D Collages" and the kiddos LOVED it!   Each child had a paper plate and were offered a variety of "things" to decorate the plate for an original 3-D collage. 


You could use just about anything you want to recycle or re-use for this project. Here we have some toilet paper rolls cut up into smaller pieces, strips of sand paper, mini-muffin cups in bright colors, small styrofoam balls, colorful streamers, and some coated wire. Let me tell you, it is not easy to poke a small wire through a paper plate but when you're a little person who really wants that wire in there, you find a way!   Some great skills are required to tape, glue, poke wire through stryrofoam, tearing paper streamers, and getting everything to STICK!  


Some designers had a theme (can you tell we had a dusting of snow that day?)


Some opted for a simple design....


and others couldn't walk away from adding more "beauty" to the design!


This was a very simple and inexpensive project that encouraged creativity and worked lots of fine motor skills.  There is no "right or wrong" and everyone walked away with an original piece of art!
Give it a try today!

Jen Dermody, OTR/L

Friday, January 13, 2012

Mmmm...Mmmmmm....The Gingerbread Man

"Run, run, as fast as you can....you can't catch me I'm the gingerbread man!"  Kiddos LOVE that story and they love everything gingerbread at preschool!  The classroom never smelled so yummy as it did during this week's special activity making little gingerbread men on paper.  The children were given a paper with a gingerbread man shape and used a glue stick to fill the shape with glue.  Then it was time to shake, shake, shake some cinnamon on the paper and when they shake off all of the extra cinnamon, they were left with a cute little gingerbread man!  


Note the "visuals" on the red paper that provides my little friend with 3-step picture directions he can follow by himself. The picture posted doesn't provide you with a very clear view of the directions so I'll tell you that the directions are to (1) Write your name; (2) Glue stick; (3) Sprinkle cinnamon.  Everything "written" in pictures and easy to follow.  "Visuals" are an EXCELLENT way for children to learn and follow directions.  They work wonders! 

Mmmm, Mmm....when all of the masterpieces were hung in the hallway, it smelled like a Preschool Bakery!  Super simple and the kiddos loved it.


Another fun gingerbread man activity this week was building a giant "cookie" at the easel.  The giant cookie cutout was hanging on the easel and the children added velcro pieces to complete their designs. 


Mmm...Mmmm GOOD!

Jen Dermody, OTR/L

Wednesday, December 14, 2011

Deck The Halls...


Deck the halls with holiday lights....Fa-LaLaLaLa...LaLa-La-La!  Thankfully for you there's no volume button for this post so you'll have to sing it yourself :-)   When I arrived at school today, the halls WERE decked with these festive holiday lights that were adorable and oh so very OT-ish! The students had to CUT out the lights, COLOR the letters, and STRING the lights together by LACING in and out of the holes they made using a HOLE PUNCHER.  Whew!  Those little fingers were workin' for this one and the kiddos were proud of their efforts.  Younger students admired the fun colors and holiday "lights" in the halls.  A whole bunch of them hanging together on the wall simply "lit up" the halls!   Here's a little peek~~
This is a good one to try at home too where you can challenge your little elves to hang LOTS of lights!  For pre-readers, the lights can be cut and laced without letters or you could spell out names of the children.  I've never met a kiddo who doesn't love to decorate for the holidays so take advantage of that enthusiasm!

Jen Dermody, OTR/L


Wednesday, November 16, 2011

Successful Snipping

Oh my goodness, the school year has picked up speed and we're well on our way through the 2nd quarter already!   New referrals are coming every week and the paperwork is piling up....I've got all sorts of things I want to share on Jen's OT For Kids but can't seem to find even a few minutes in the day to get it done :(  I promise to keep trying so be sure to keep checking back.

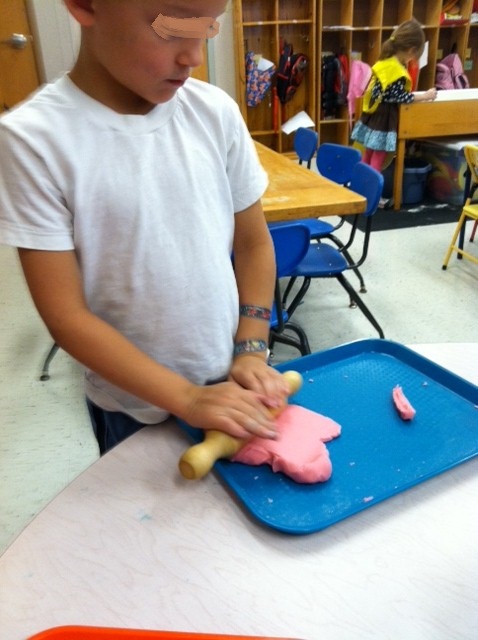
I did want to share a quick tidbit about getting kiddos to improve cutting skills without having to keep those darn scissors on the line.  Try playdoh!   Playdoh is awesome for a whole bunch of reasons but you'll see your "non-cutters" getting excited about using scissors when they have an opportunity to cut something other than paper.  Here you'll see one of my preschool friends who needs hand over hand assistance with cutting on a line having a grand ol' time cutting her playdoh into a bunch of pieces all by herself! 

Without any reminders she is using her left "helper hand" to hold the playdoh and snipping with her right hand.  Cutting paper is difficult for this sweet little girl who is often "FINISHED!" before we can really get practicing.  HOWEVER, she stuck with this activity for a much longer span and had lots of practice with the motor skills required to "open/close" the scissors. Along with the cutting, kiddos can roll the playdoh into balls or snakes and use lots of fun tools to dig into the fun.  
I promise to get a playdoh "recipe" on here soon so that you can make your own!  It makes a ton very inexpensively and is even better than what you buy at the store.  Kids LOVE to help make their own playdoh, plus you can pick and choose the colors and even the scents you want to use.  So much FUN!

Jen Dermody, OTR/L

Saturday, November 5, 2011

Pumpkin Pounding

You have to love preschool teachers for being so darn creative!   This week the children had an opportunity to do a little pumpkin pounding using golf tees and a small hammer.  There were 2 large pumpkins and a bunch of golf tees in a jar (they even had practice opening a jar) and the children could pound as many golf tees as they wanted into the pumpkin. Kiddos can even create patterns or designs if they want!


Of course no builder is complete without his
 SAFETY GLASSES!  

I love this activity for encouraging bilateral hand use and fine motor coordination.  There is even some hand strengthening involved and visual motor skills to get the hammer to hit the tee.   The best part is that kids are super motivated to do any activity that involves a big pumpkin!


Happy Fall!

Jen Dermody, OTR/L

Sunday, September 11, 2011

Buddy Art

I love this activity!  This is a picture from an early childhood classroom, however, I've done this with K, 1st, and 2nd graders too and they always love it too!

Start with a box and 2-3 small rubber balls.  Each student works with a buddy and there's quite a bit of team work involved.  In this case, they were given a choice of 6 colors and were asked to pick 2 (that alone was a challenge for some!).  Then they decided if they wanted 1 ball or 3.  There is some motor planning involved as they coordinate how to roll the balls around the box "just right" so that they don't go flying out.  These little guys had a plan that they wanted their paint to go "up and down" in lines and they did a pretty nice job with that!  Other kiddos tried for circle swirls or just a plain ol' pretty design. 

From an OT perspective, I love that this task incorporates bilateral hand skills.  It's a great team task and fun to do at the beginning of the year to encourage students to work together.  Give it a try!

Jen Dermody, OTR/L